This is the last major structure that there is to build! However there is still plenty left to do before it
can be called done...
| First the fuselage sides are layed out on the bench. You put in lots of blocks to support the structure
so you can build 2 of them just alike. |
 |
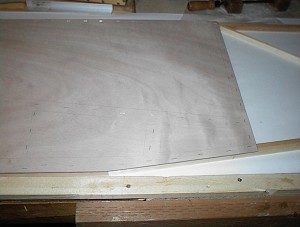
| Next you sheet the structure with plywood to add stregnth to the sides. Carefull marking on the
inside and outside make for quick work in putting them down. The longest part was applying the glue to the inside
of the structure. |
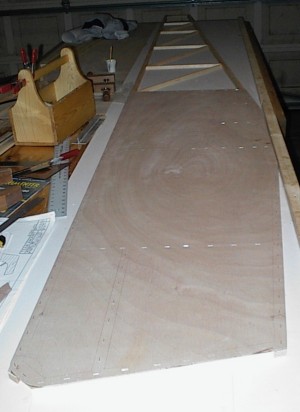 |
| Kind of a bad shot trying to show the outlines on the outside of the plywood. You can see it a bit
better in the other picture above. |
 |
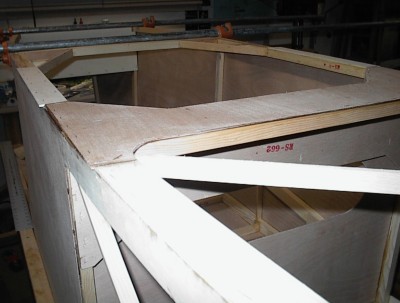
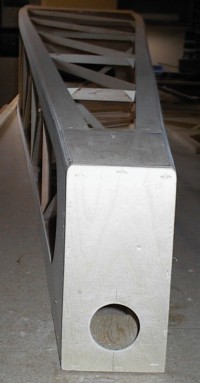
| Here is the nose section and most of the cockpit. |
 |
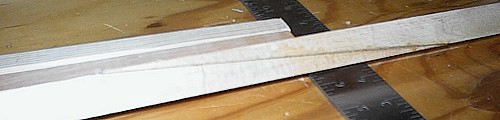
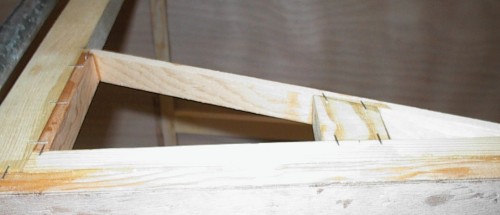
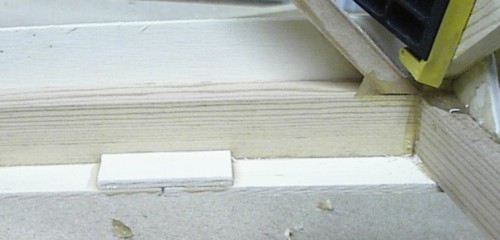
| These are the most critical joints in the fuselage. They are scarf joints that join the very long
longerons. I choose to make mine 8 inches long as 6 was the minimum recomended for this part. |
 |
| When do we go sailing? It looks like we have a small dory at this stage! |
 |
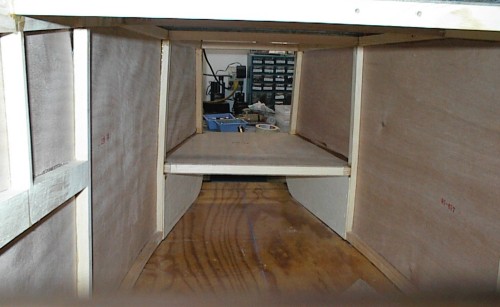
| This is the view from the cockpit looking forward to the nose section and the motor mount. There
will be more structure added soon to this area. |
 |
| Here is the motor mount looking from the bottom with the fuselage turned upside down on the table. |
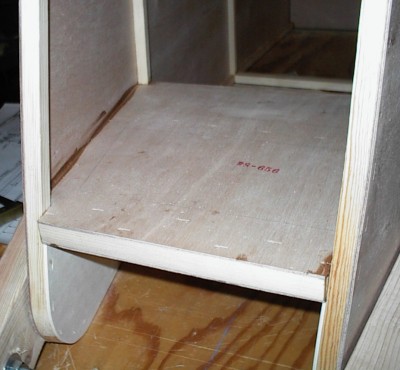 |
| Another critical area that tends to pop free is the back of the
firewall, this part holds the nose together behind the motor mount. |
 |
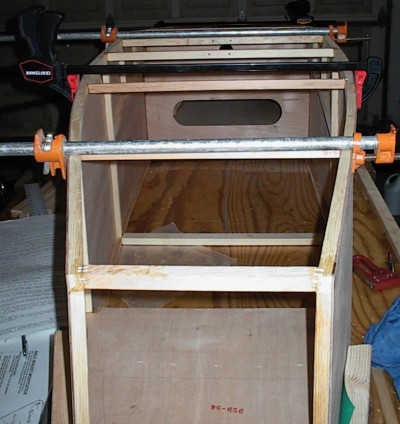
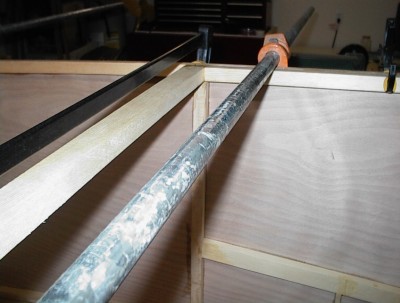
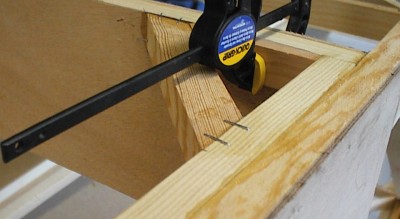
| Here is the largest problem area that I had with the fuselage. This RS11 stick is supposed
to hold with end grain glue and it just wouldn't for me. I had to keep the clamps that you see here tight until
after all the bracing was installed around this joint. |
 |
| Getting much stronger now that the plywood and corner blocking is installed around the cockpit
opening. |
 |
| Another view |
 |
| This is the front bracing for that problem area joint. Once these parts were dry it held just
fine. |
 |
| Lots of clamps and staples. |
 |
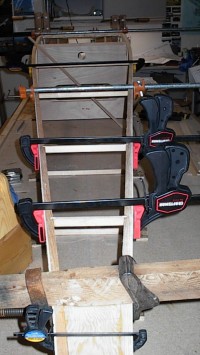
| Now bring the tail together. |
 |
| Don't build a salmon swiming up stream at this point! Lots of clamps help at this point and lots
of measuring and blocking on the table. |
 |
| Top, Bottom, Side, and diagonal bracing ensure a stiff tail structure to hold the tail surfaces. |
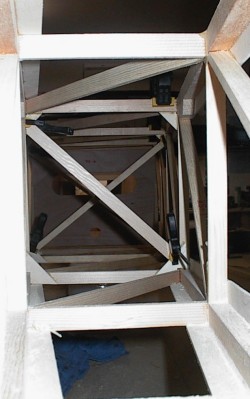 |
| Corner bracing for the formers in the tail section. |
 |
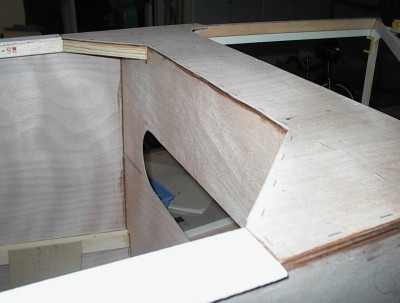
| You need to add some support to the bottom of the areas that you slit to curve around the
bend in the fuselage. |
 |
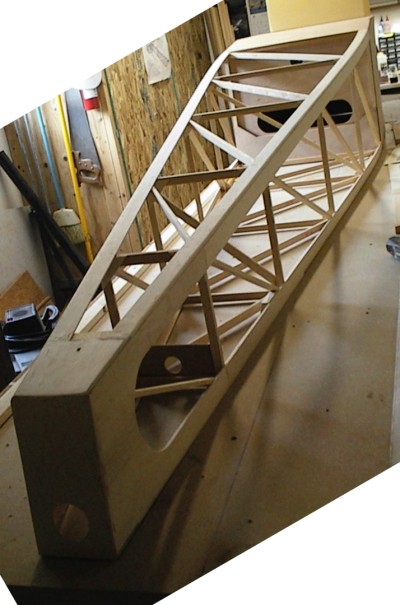
| Finished fuselage! I used the router to round over the edges and sanded smooth. |
 |
| Here is the tail plate. The hole is for the elevator cable to extend through. |
 |