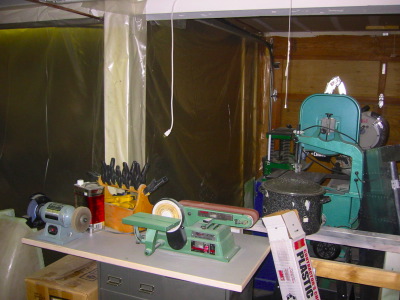
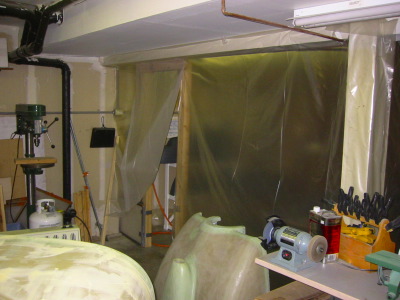
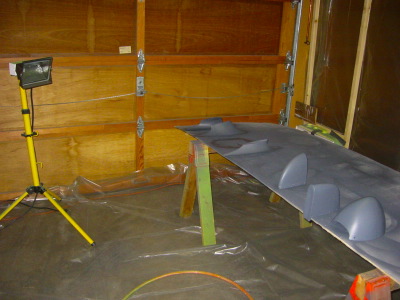
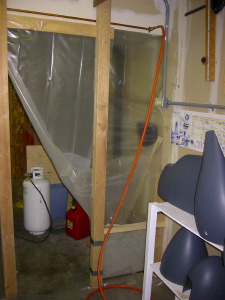
| The first order of business is to build a paint booth. 1 bay of a 2 car garage was used in this case. I got some construction pastic from Lowes, put up a few 2x4's for a door and fan mounting locations. Then I stapled the plastic to the ceiling, 2x4's etc until I had 2 sides walled in.
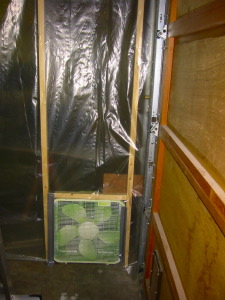
Next plastic on the floor and a couple of furnace filters for incoming and outgoing air. A basic $10 box fan with 2 filters on it works great. No concern about expensive explosion proof fans since AFS is waterbourne! |
 |
 |
 |
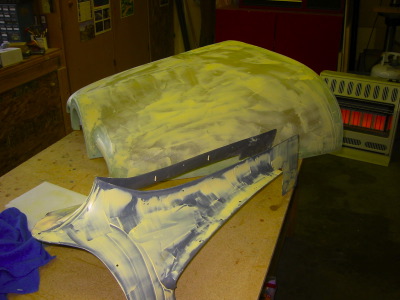
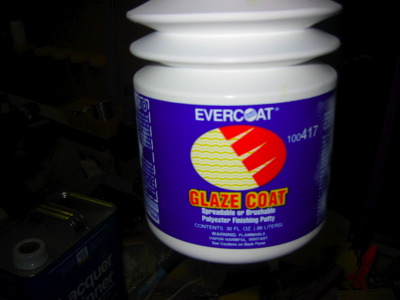
| Ok, now that you have a spray booth it's time for the fun part! Well not really. First step is to prepare the fiberglass parts. After all the fitting, sanding, glassing, etc is finished up and they are "ready"... Then comes the pin hole filling. There are many products that can be used and I suspect everyone has their "best" one, but I used Evercoat. It's a polyester glazing compound. It's very thin in consistancy when mixed and spreads easy. Mix very small batches as it sets in about 3 min! Much different than the 1 hour epoxy I had been using for everything else.
I used a square of UHMW plastic that I had laying around as a mixing board. It's easy to clean off when it's set. Just mix up a small batch and use a plastic squeege to spread it over the surface. It will easily fill in the weave of the fiberglass and the pin holes like magic.The trick is to get them all! |
Once all of the parts are covered you start sanding. This part is no fun at all, but just part of the process. I used 150 grit open cut paper to take it down quickly. The Evercoat sands very easy at this stage. Once most all of it is sanded off you can switch to 220 if you like. You are trying to take most all of it off, just using it to fill the voids and holes. |
 |
 |
 |
 |
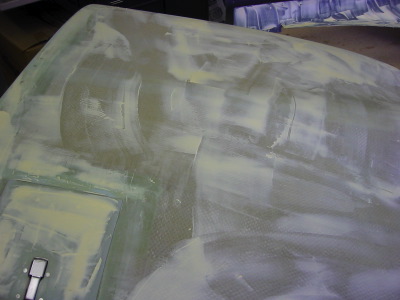
| Ok, once the parts are filled and sanded it's time to take them to the spray booth. Use a tac rag (sort of a waxed cheese cloth) to ensure all the sanding dust is removed.
Next it's time for Cecofill which is a UV blocker, high build sprayable primer/filler. Like all AFS paints you must start with a very light fog coat. Once this is dry (almost instantly) you can spray just a bit heavier coat. Each successive coat will build on the first and start filling in the surface. It will not fill voids or pin holes (those should already be taken care of above) but will show you where you missed sections. After the medium coat let it dry for about 6 min, then do another. I spray about 4-5 coats like this to get it filled in nicely. Then let it dry for 4 hours to be ready to sand. |
 |
 |
 |
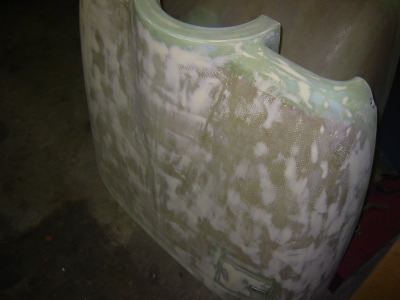
| You continue the cycles of 4-5 coats, let it dry, then sand it down with 220 grit paper. You are mainly leveling the surface and filling in the sanding marks and other very minor imperfections. I used about 3 of these cycles on the parts to finish them up. On the last coat sand with 320 paper to prep for paint. | 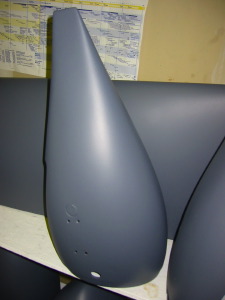 |
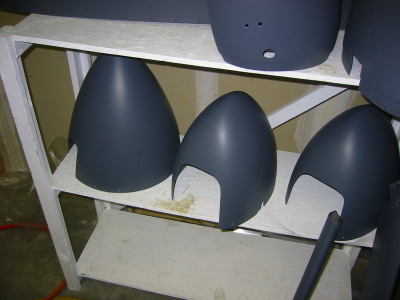 |
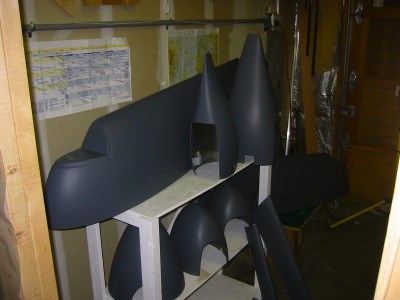
Things are starting to look very nice at this point. It's almost time for paint! You need various fixtures to hold parts in the spray booth. Just use what you have. I have some sawhorses on one side using the lid of the wing kit, and these shelves on the other side. I put up a string across one side to hold small parts on like the gear leg fairings. |
| Ok, now that all the parts are painted gray and uv protected etc it's time to lighten them up a bit. The final color coats are fairly translucent and look best over a whilte base color. So the first step is to paint them white.
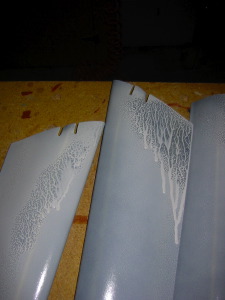
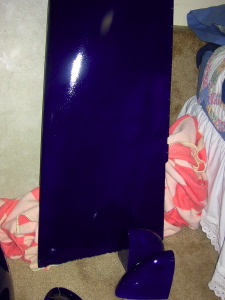
Now similar to the Cecofill, but even more critical is the starting FOG coat. You must get a nice light even fog coat to get the paint to stick to the surface. If you don't fog it, or put it on a bit heavy you will create a mess. One look at the parts on the right will show you what happens. Without the fog coat the paint will not stick and will RUN! So, follow the directions, fog coat, then just a bit heavier coat next, letting each coat tack up. Then by the 3rd coat you can start going a bit heavier. |
 |
 |
Now here's the trick, this entire painting process is all about walking the fine line between too dry and getting orange peel and too heavy causing runs. Somewhere in between is the perfect amount of paint, gun speed, temp, etc and it goes on nicely and flows out smoothly.
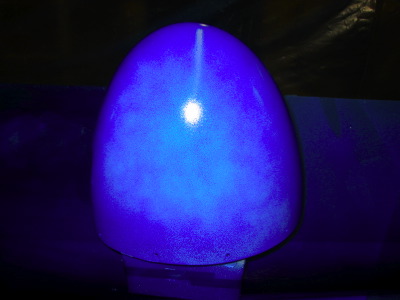
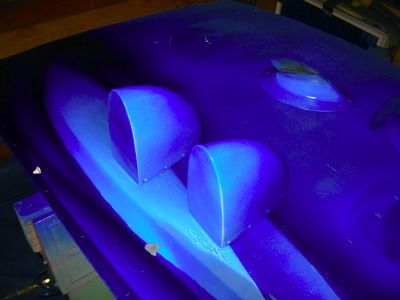
After the white coats are finished I let them dry overnight, sanding them with 320 to rough it up just a touch. Then started spraying the final color coats. At the left you can see how the earily coats are thin, leaving the white showing through. It's important to go slowly and take your time. Just remember that you have a 1 hour time life on the pot of paint. NO MORE THAN 1 HOUR or it will start to setup and make a mess of your parts. |
 |
 |
 |
To manage the pot life and how much I could spray in 1 hour I mixed up small batches. The paint is mixed 3 to 1 with paint to hardener. I used small bathroom dixie cups and simply drew a line with a sharpie about 3/8" from the top. That was my unit of paint. Fill it 3 times with color, 1 time with part B and mix. let the paint stand about 3 min in the mixing cup (I use quart plastic cups from Lowes paint department).
Once it has "Sweated in" for the 3 min, Mix in some distilled water. Just a touch at a time, not too much. You want it to thin to the 18 second point using the Duppont M50 viscosity cup. It's just a little cup on a stick with a hole in the bottom. The 18 seconds is how long it takes to empty when you pull it out of the paint. |
| Over time you will get a feel for the amount of water and I don't even use the cup most of the time once I am back in the groove of a painting session.
Next fill your paint gun using a fine paint filter (the local auto paint store gives them out by the hand full for free). Then get to work. I use a kitchen timer to start the clock going as soon as I have mixed up the paint so I know how much time I have on the clock. Cover yourself while spraying as it goes everywhere, use a respirator. It does not smell bad and has no solvents, but you don't want paint vapor in your lungs. Just the basic 2 canister respirator from Lowes works great. When finished cleanup the gun with hot water first, then what ever is left can be cleaned up with laquer thinner. |
 |
 |
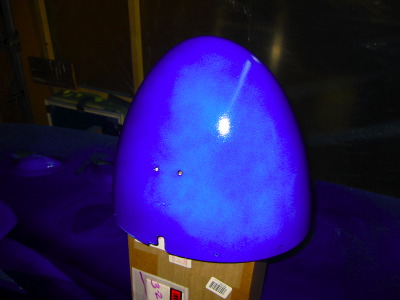
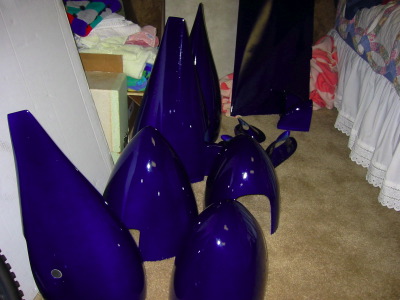
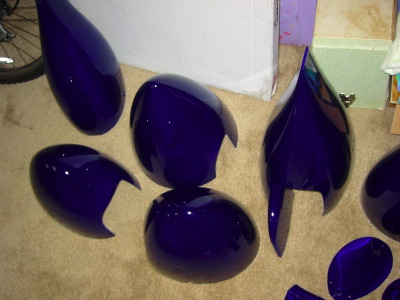
It took between 3-4 batches of paint to get the parts to this final form. Each one gets the surface darker as more layers are added to the part. When it's finished you have an incredible shine and rich deep lusture that I think you will like.
Give them a call and get your own AFS paint... |