
 |
Here's where it all begins. Somewhere out
back of Van's shop you get
SUCKED IN |
 |
 |
 |
 |
 |
 |
 |
 |
 |
 |
 |
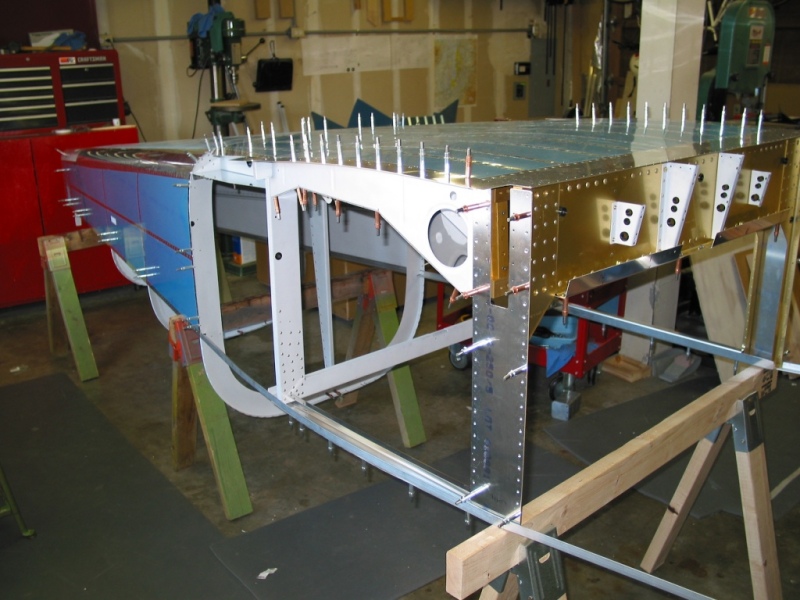
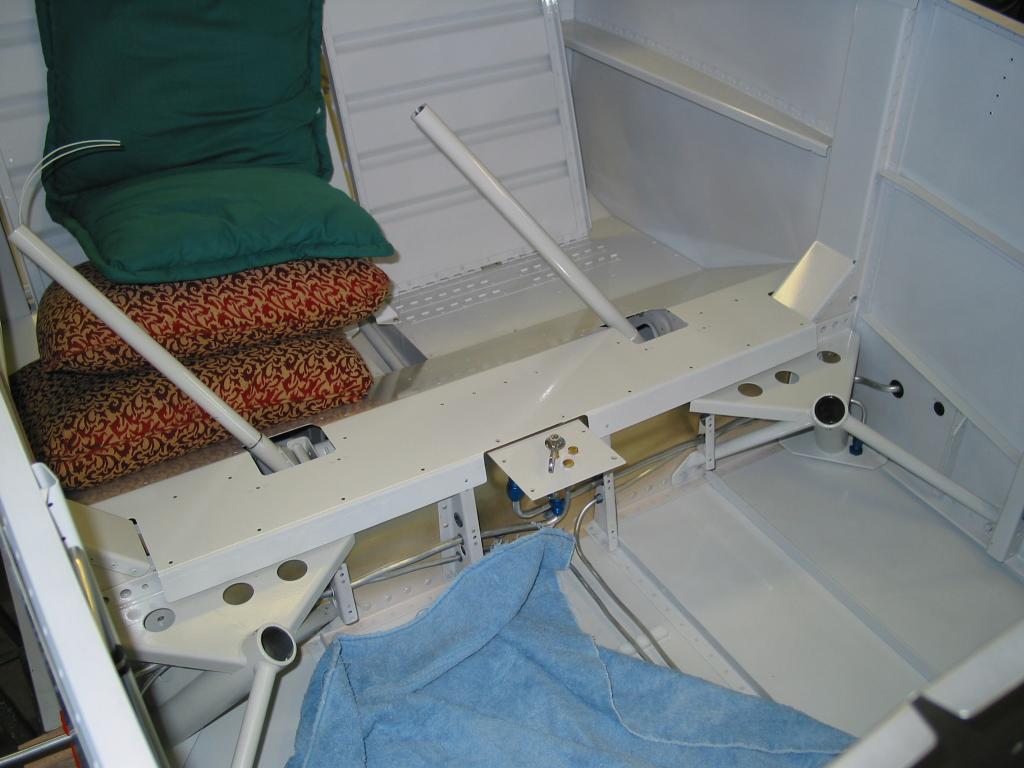
Progress steams along. It's now May 2002 and the fuselage is coming together nicely. Soon we will have something to sit in and make "Airplane Noises" in! | 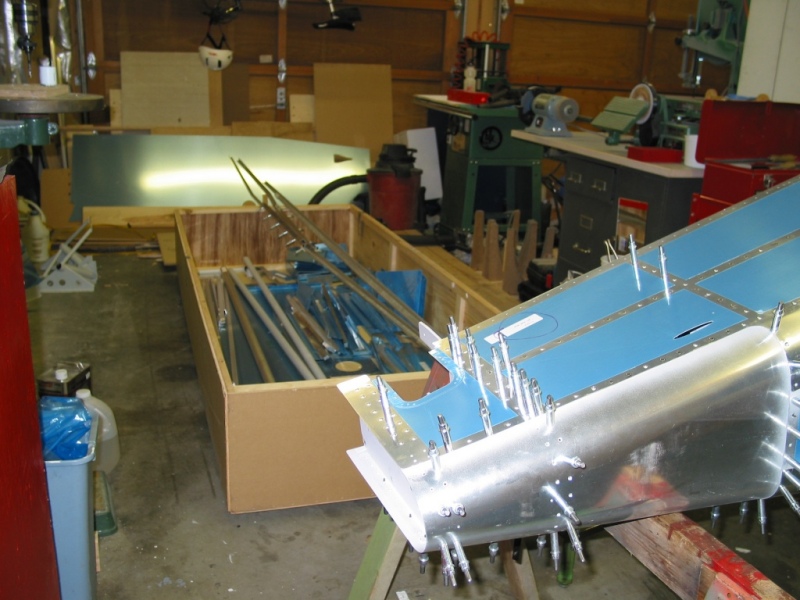 |
 |
 |
 |
 |
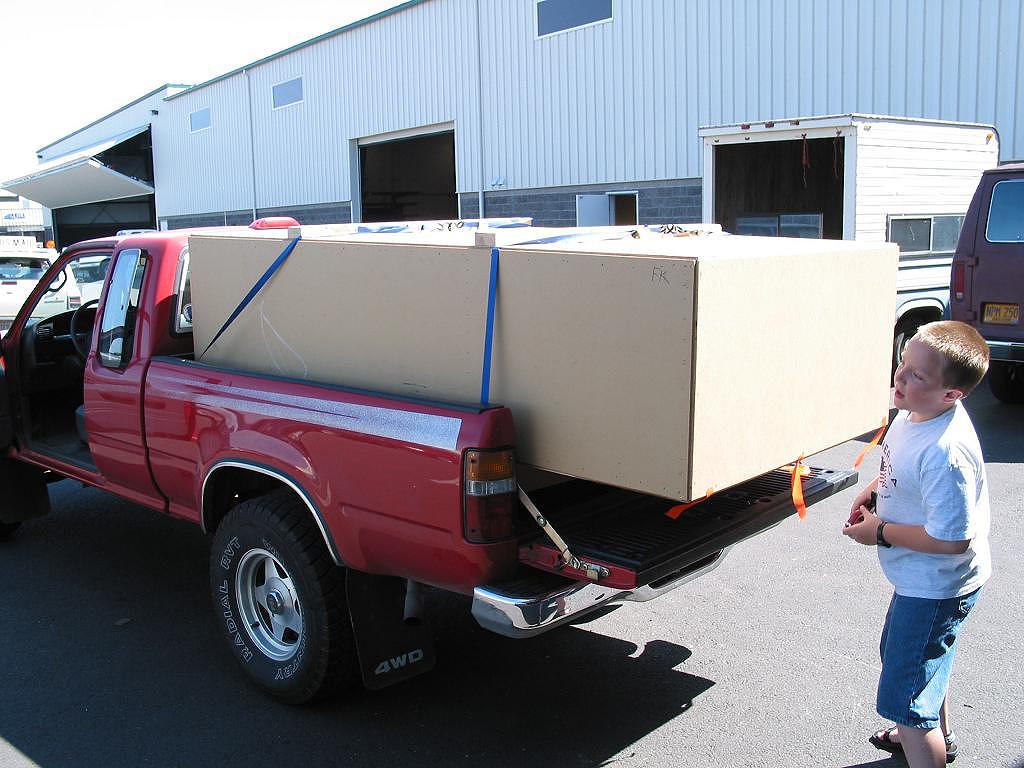
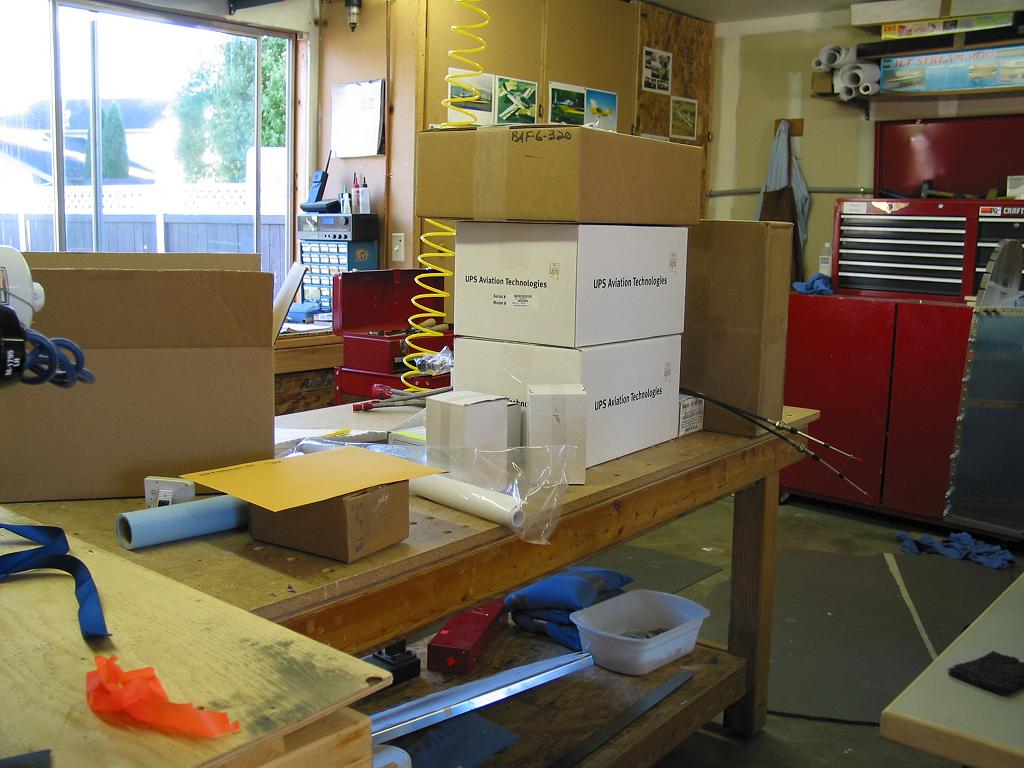
Yep, that's one BIG box! Full of very few parts! |
 |
 |
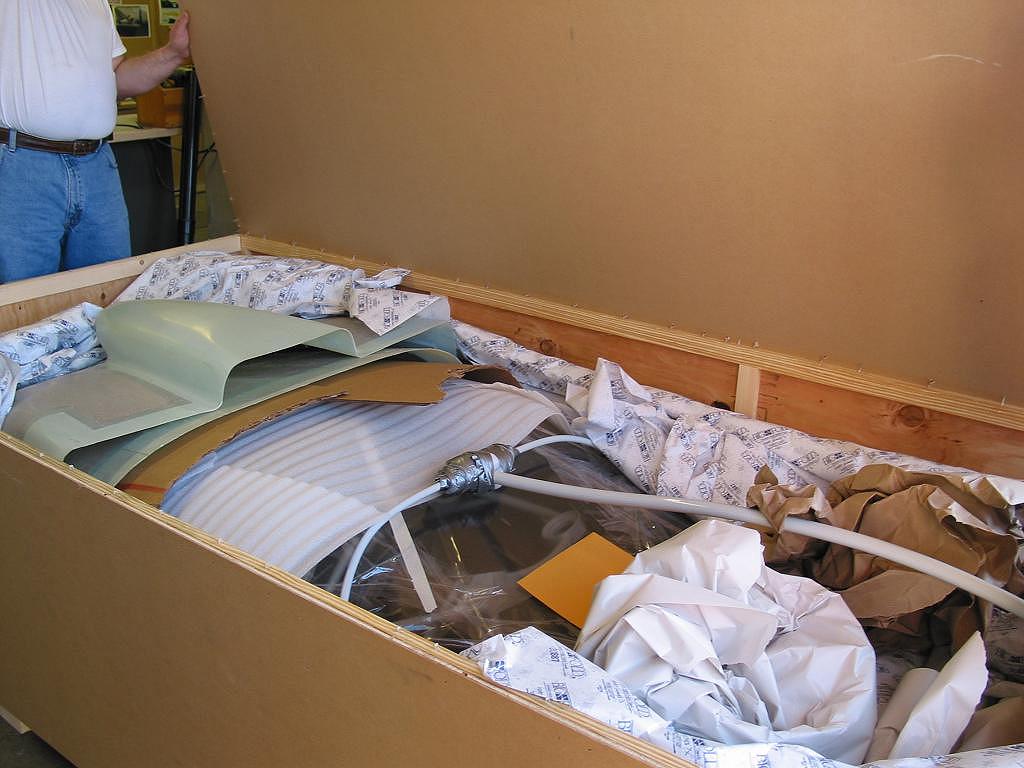
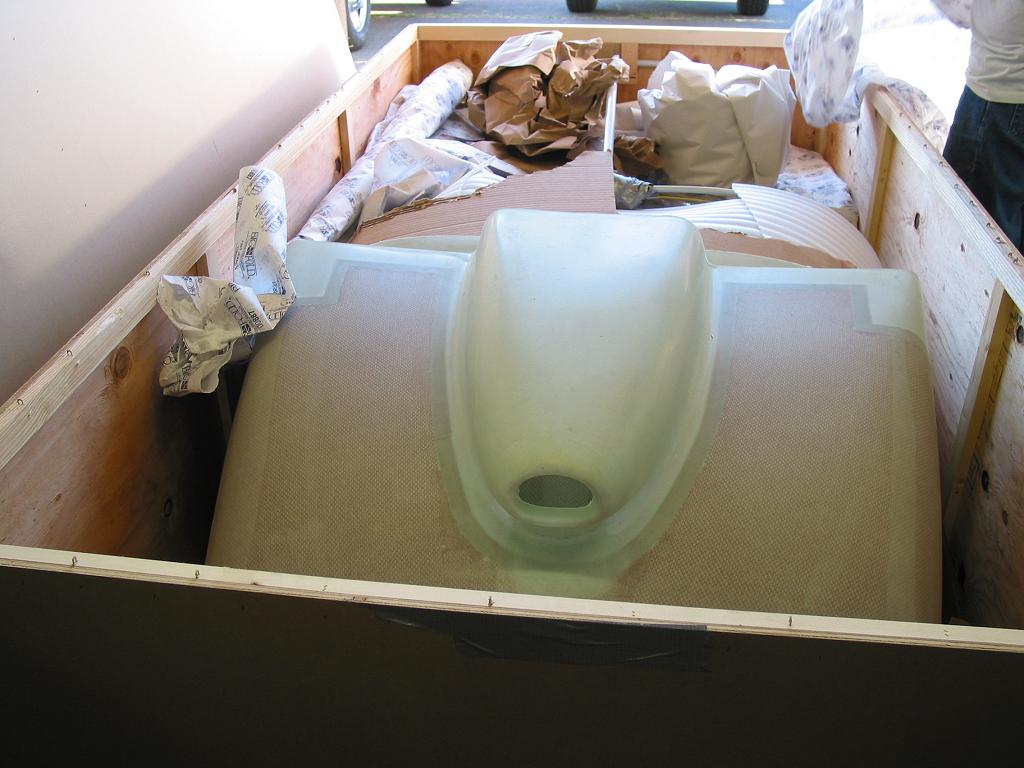
Here's Radios & avionics, parts galore, and all the firewall forward parts & hoses. |
 |
 |
 |
 |
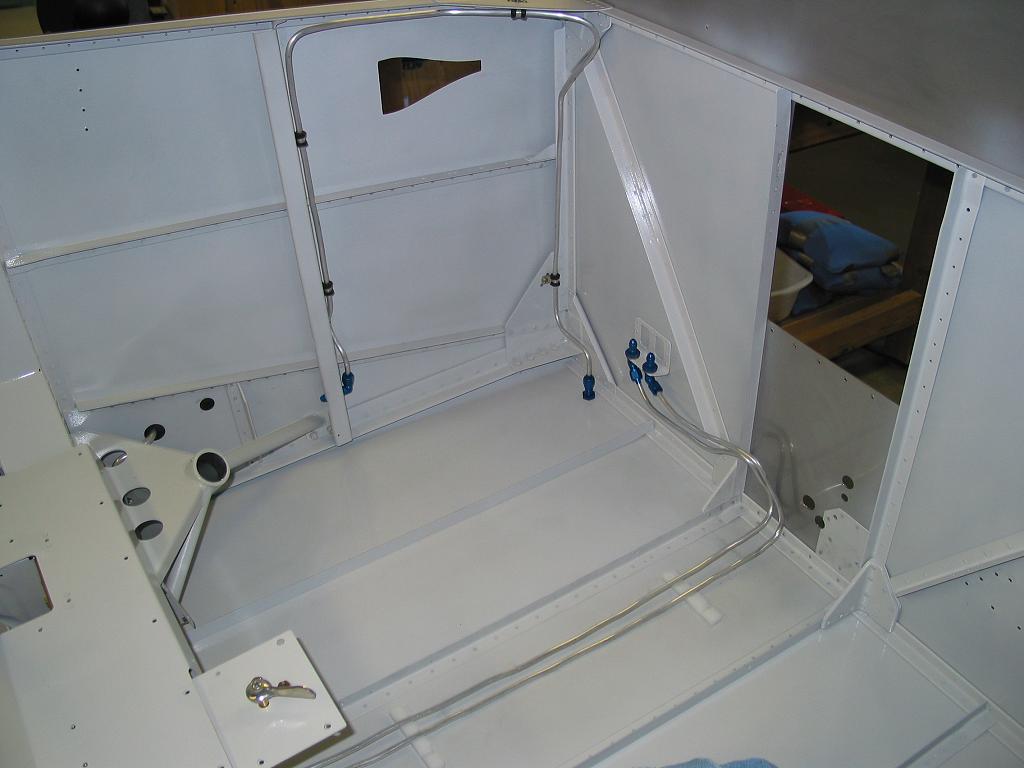 |
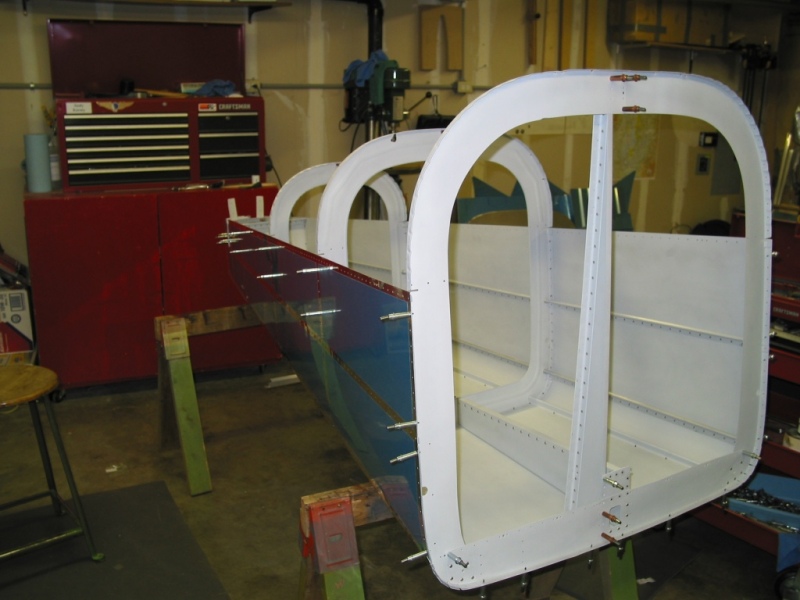
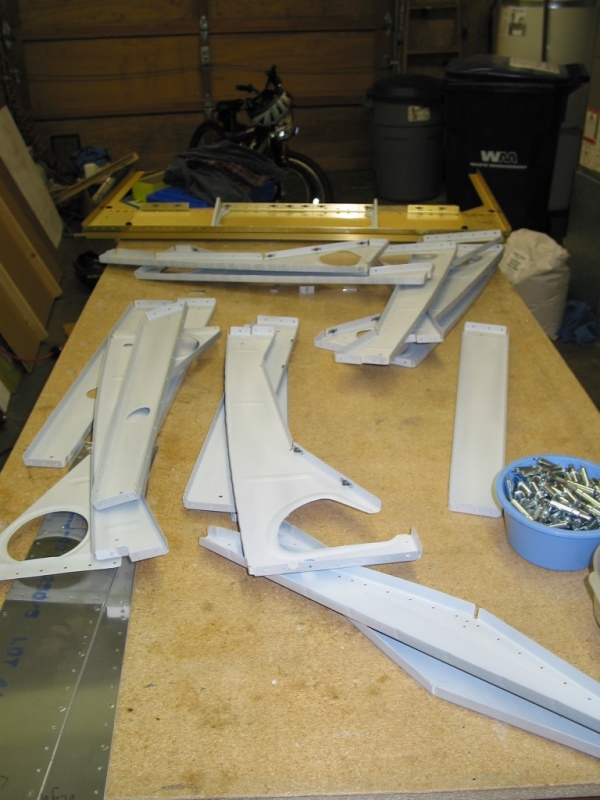
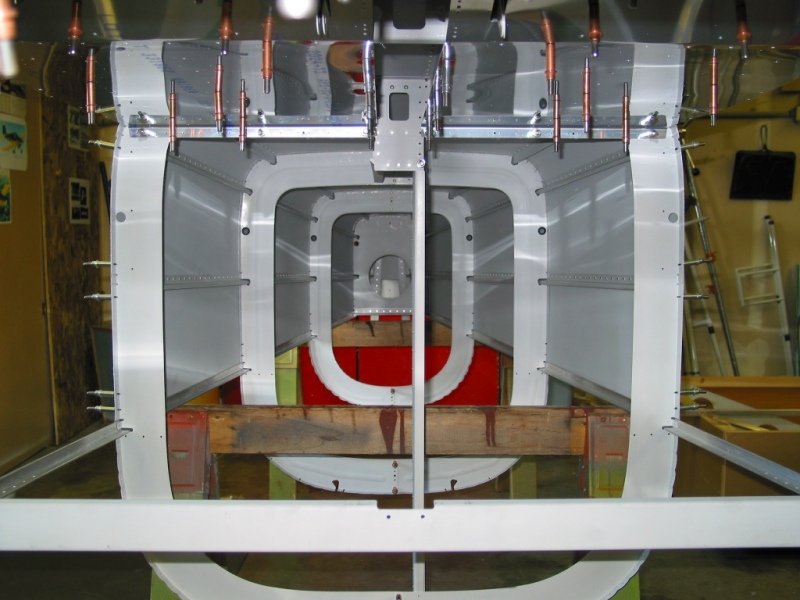
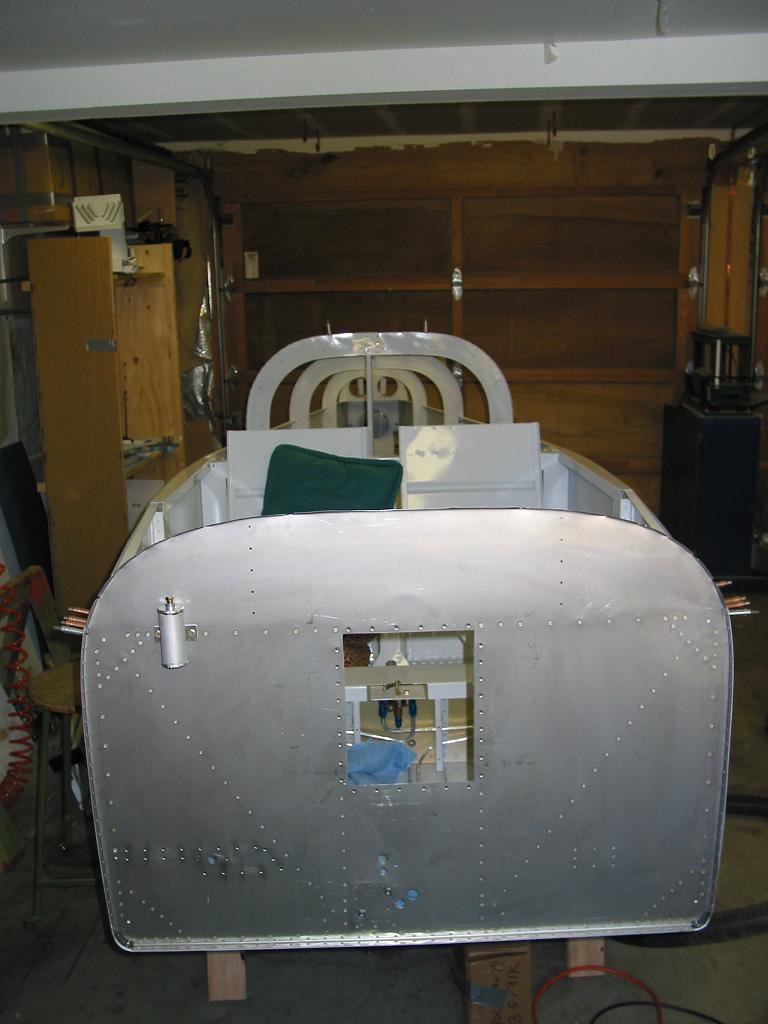
Interior is painted "Smoke Grey" from AFS. It's a 2 part waterborne polyurethane. It just happens to perfectly match the power coated parts from Vans. |
 |
 |
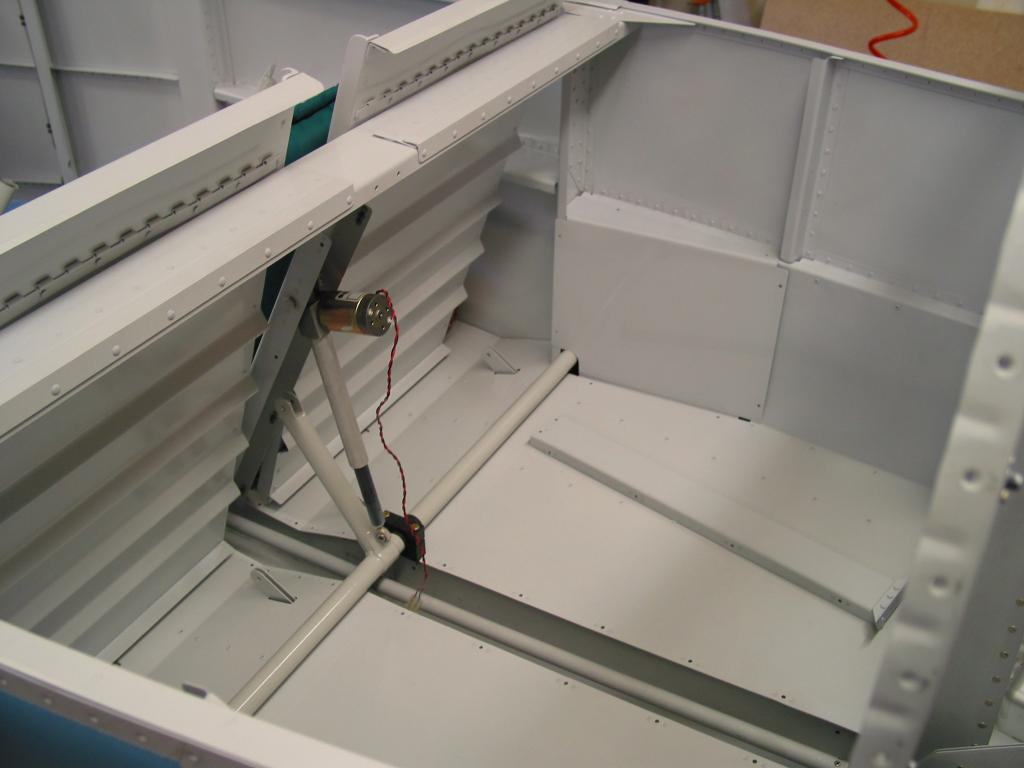
Tail mounted & controls hooked up to the cockpit! Next it's time to finish up the rear |
 |
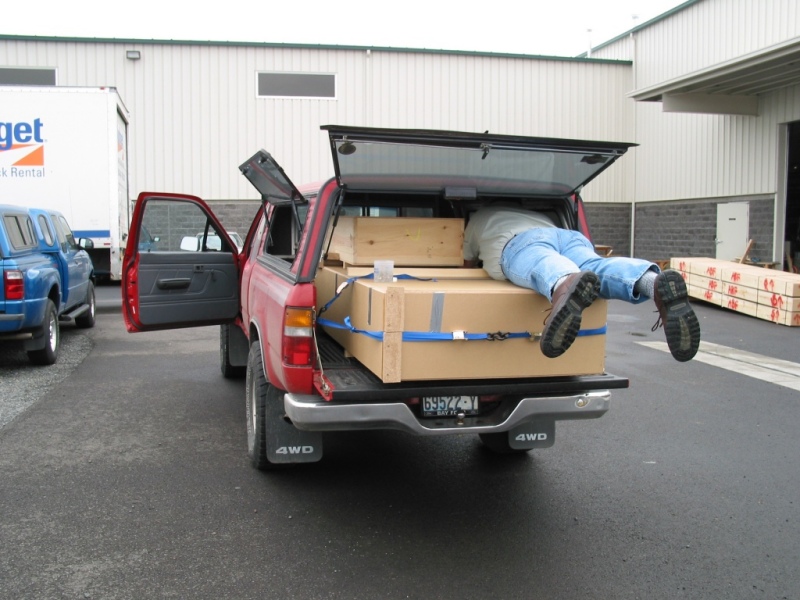
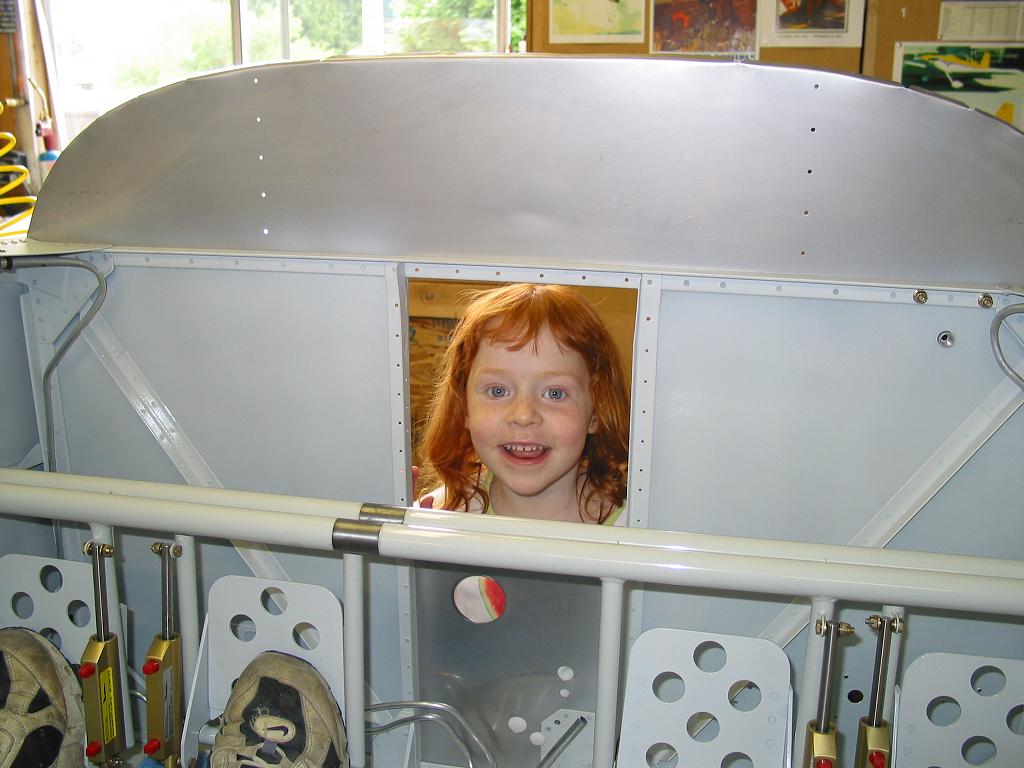
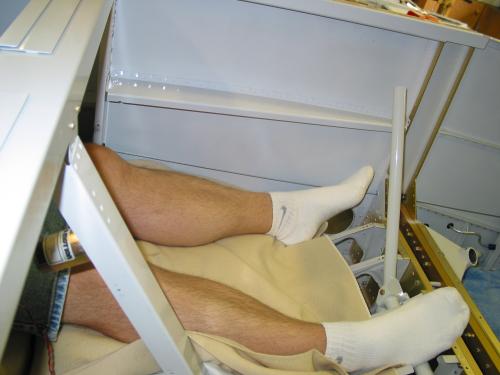
| Ah the joy of climbing into the RV9A sleeping compartment! Should be perfect for those extra long cross country trips! | 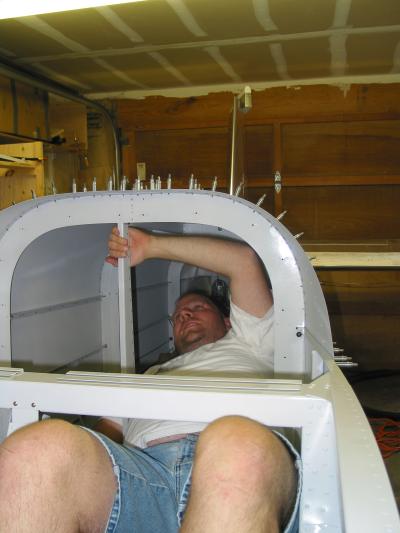 |
 |
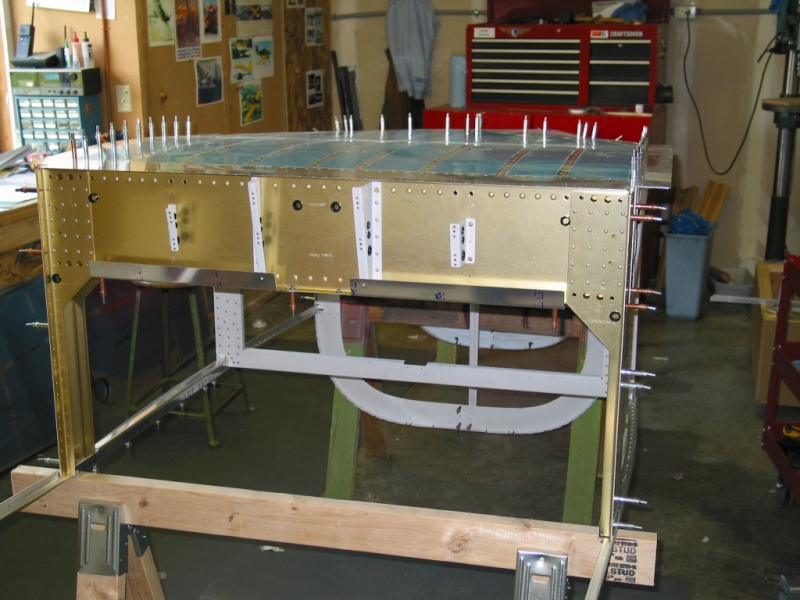
Here I am all rested and ready to rivet. Avery long back rivet set in hand with Debbie on the outside holding the bucking bar, we commence back riveting the fuselage skins on. |
 |
 |
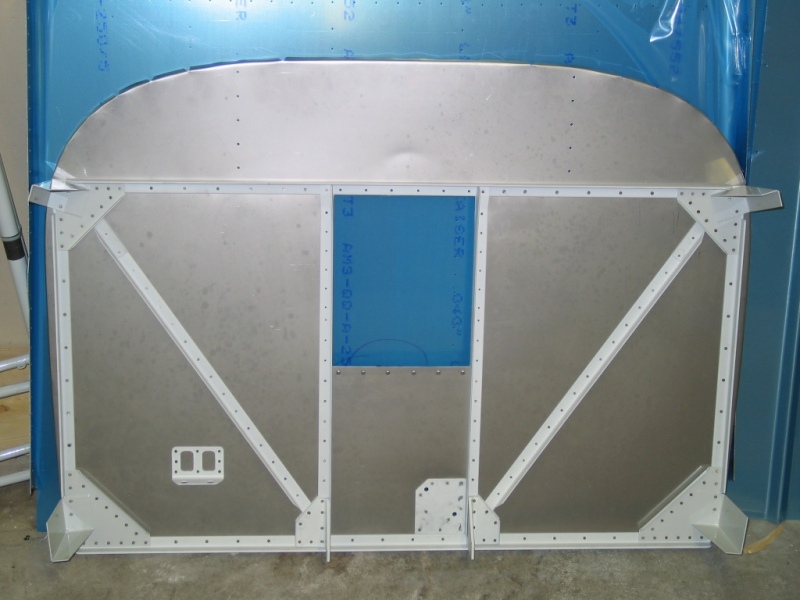
All finished!The outside of the skins turned out perfect, with no riveting blemishes and no shimming required! I highly recommend using a back rivet set to do the top skins. I alternated with the Avery long set and the standard spring loaded short set where it would reach. |
 |
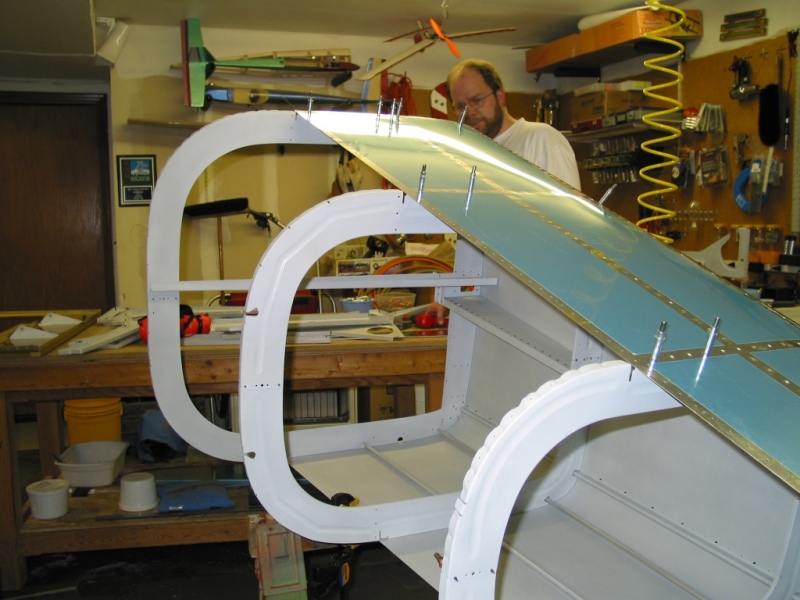
| First the raw canopy is trimmed to remove the edge flanges and get a basic fit going. In this picture the slider frame is being fit and the edges trimmed to match the shape of the slider frame. | 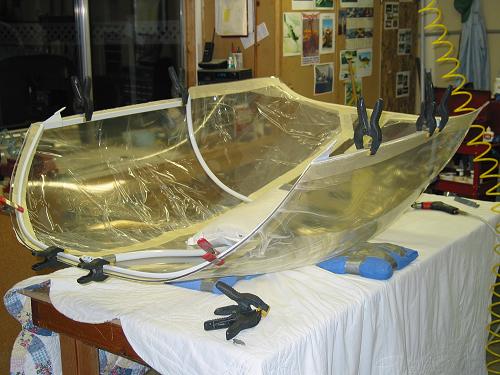 |
| More fitting, lots of tape & clamps. I taped all of the seams of the protective plastic to keep the dust and grit off the plexi wile working on the cuts. Later it will all come off when the fitting is finished. | 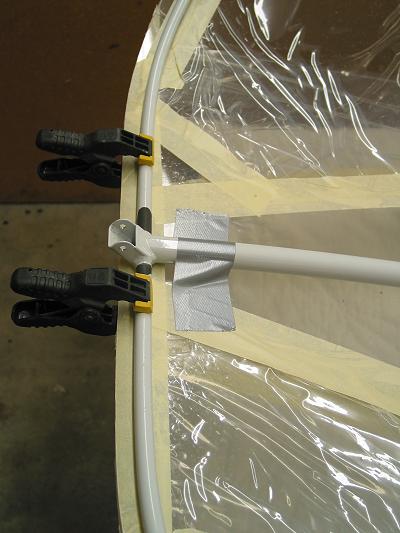 |
| Start with the sides long just to fit them, later they are trimmed above the side bar so that the canopy skirts can be fit to the sides of the slider frame. | 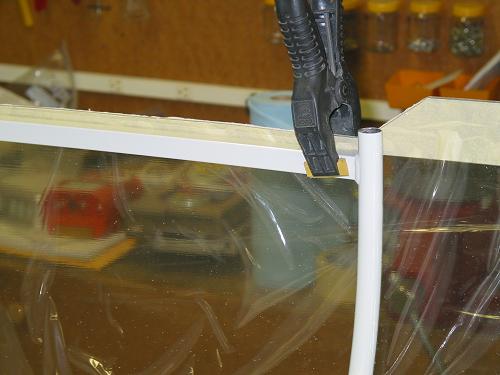 |
| I found sand bags helpful to hold things in place while the clamping and cutting was going on. | 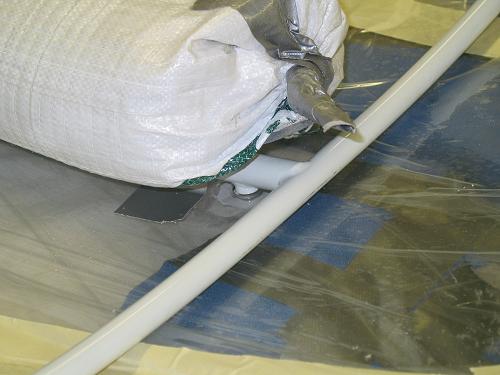 |
| The small blue bags are also small sandbags and worked good to hold the
parts in various positions during the cutting and fitting. Notice how the
new instructions have you doing all of the fitting and cutting off the
plane and simply on the table. Much easier than many stories I had read
about others fitting everything directly on the airframe.
I used my air drill (with a regulator to slow it down) to do all the cutting. Then once the edges are cut I belt sanded them with 100grit and finally scraped them with a special ground hack saw blade. |
 |
| The hack saw blade trick was learned from Aero Plastics at Oshkosh this
year. He said to simply take an old blade and grind the teeth off one
side. You leave the slight burr on the side from the grinding and then
simply bend the blade a bit with the burr on the outside and use it as a
scraper. It takes all the marks off the edges of the plexi and gives the
nice dark clear looking edges. You simply radius the outside edges with
the same "tool" and you're done! Works great and costs nothing.
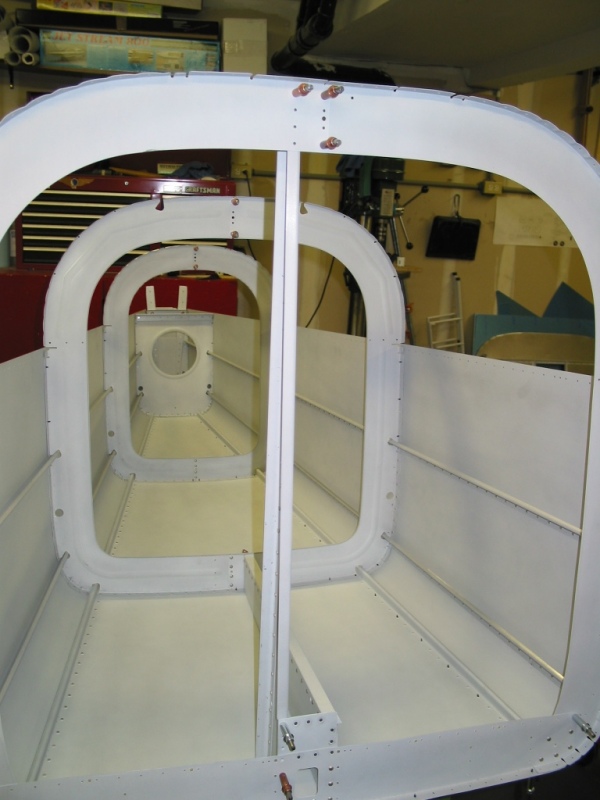
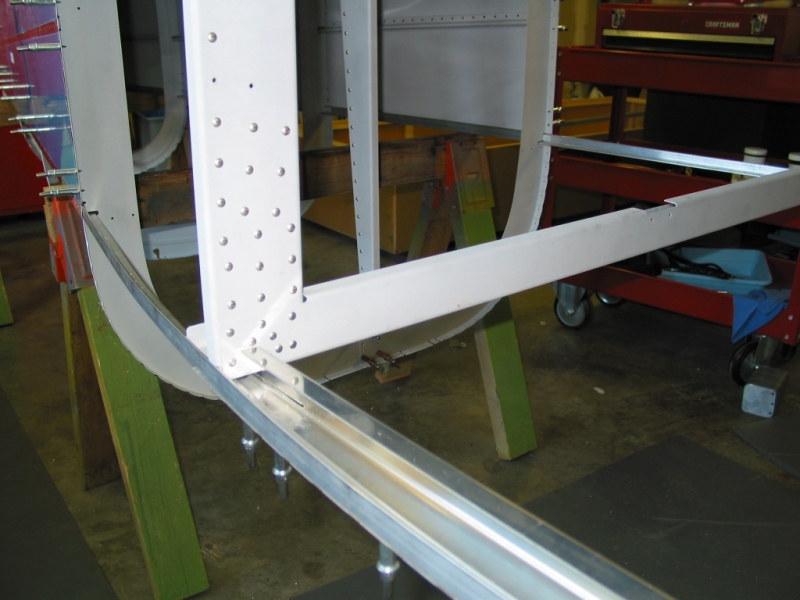
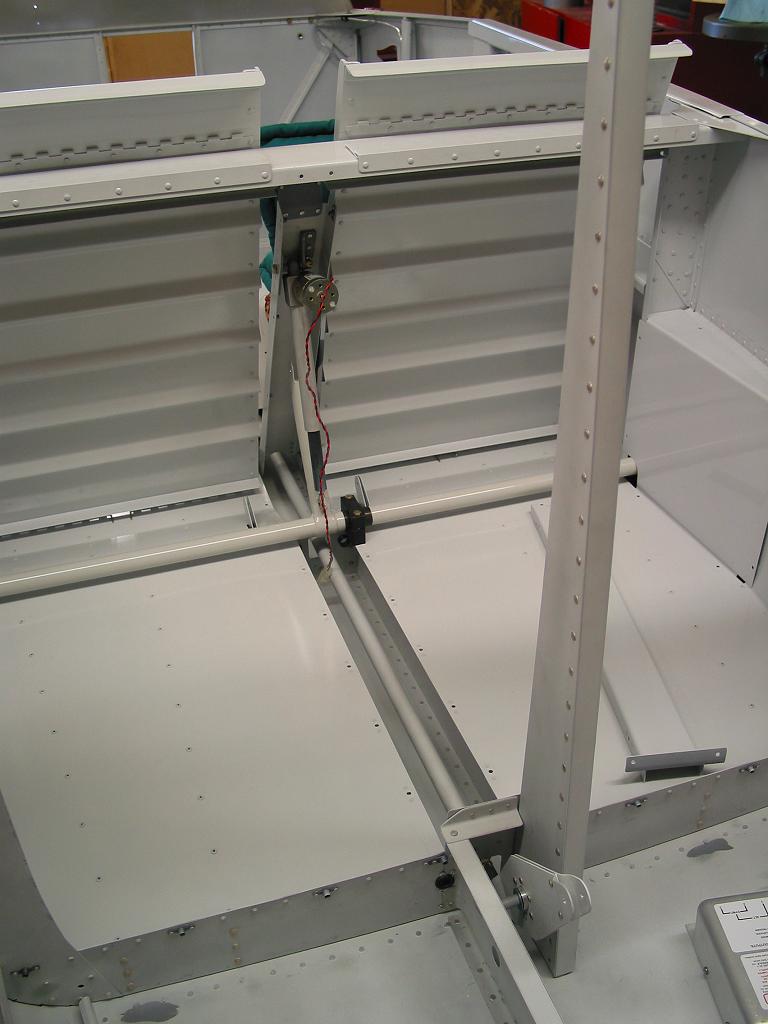
Here's the front roll bar & the slider tracks attached to the fuselage. |
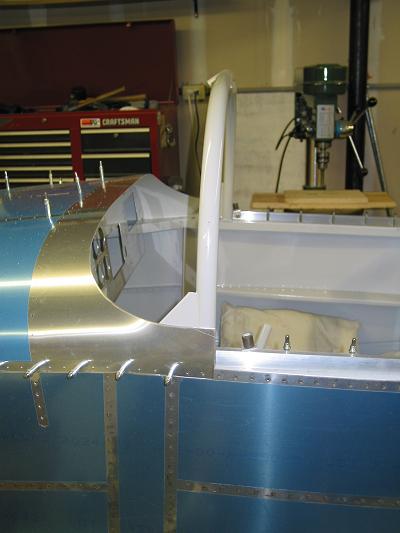 |
| The slider track is attached to the top and rear part of the baggage compartment. | 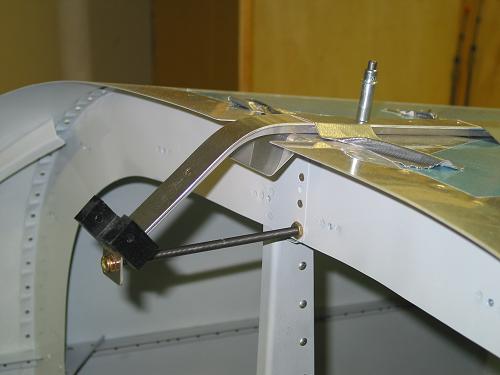 |
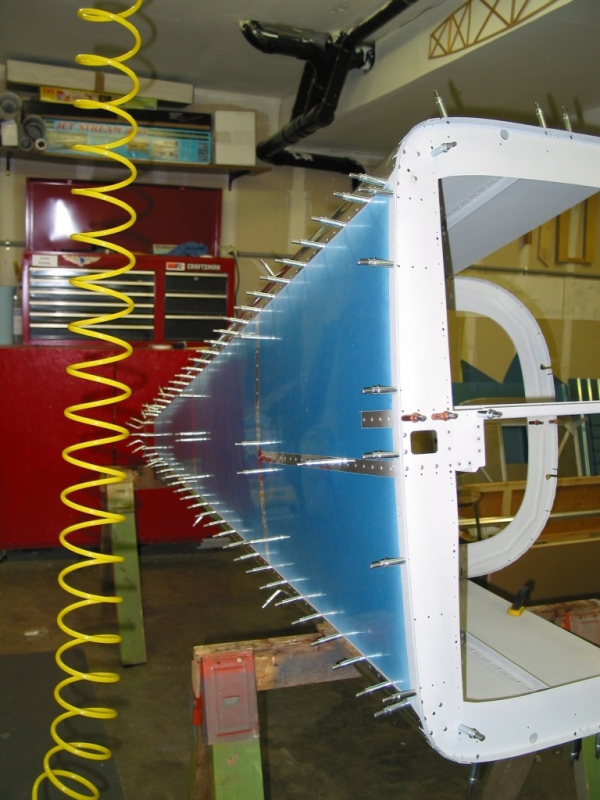
| Finally the cut canopy is drilled to the slider canopy frame. Lots of holes and lots of clecos. I used a regular #40 bit with masking tape on the tubes to help spot the centerline's while drilling. You mark out 2 inches between each hole and go to drilling. | 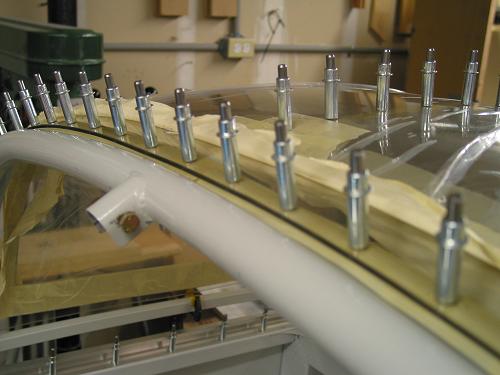 |
| All finished (drilling that is!) |  |
| Here is the rear section where the rear canopy skirts will be fit next. | 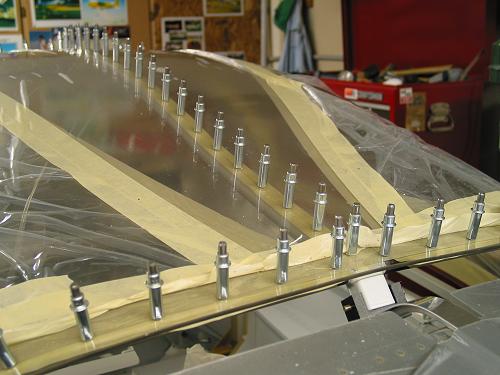 |
| Next stop is the skirts and covers, along with fitting the forward windscreen. | 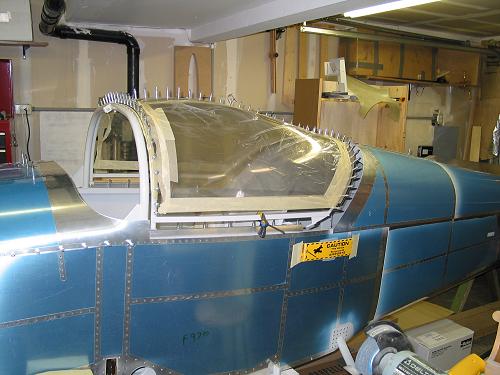 |