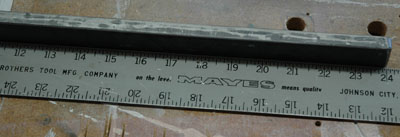
Ok, in reading the instructions on the elevator it says for the truely "fussy" builder you can fabricate a long bucking bar and eliminate the pop rivets on the bottom side of the main spar to skin attachment. Hum, so how would a person go about that? On my first elevator I just figured hum, I have no idea. But on my second set of elevators I found out how it's done. My friend Steve Casper made just such a bucking bar and showed me how to use it. So here we go.

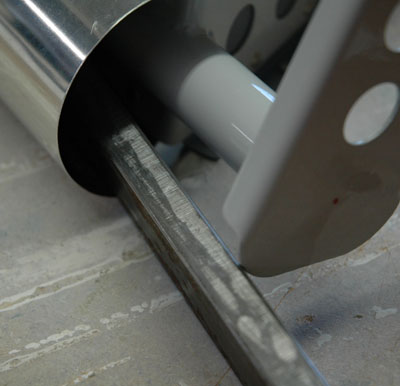
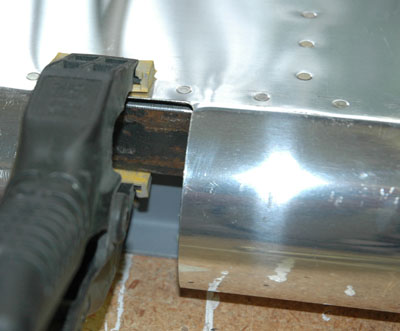

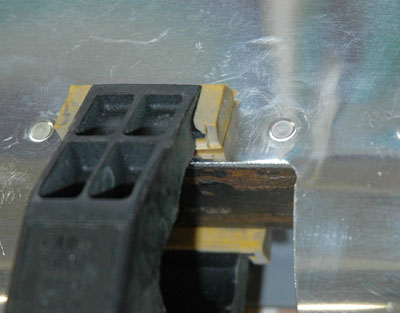
So, the idea of it is to place it on the inside and clamp one end in place. Then lower the other end with your fingers and as you pull the trigger on the rivet gun, you raise the end of the bar with your left hand. That allows the bar to come in contact with the rivets and they nicely set. It's easy as can be once you have everything ready and in place.
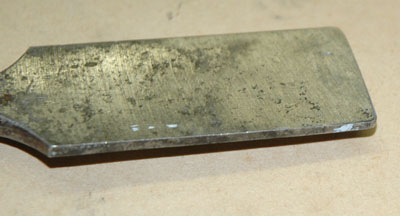
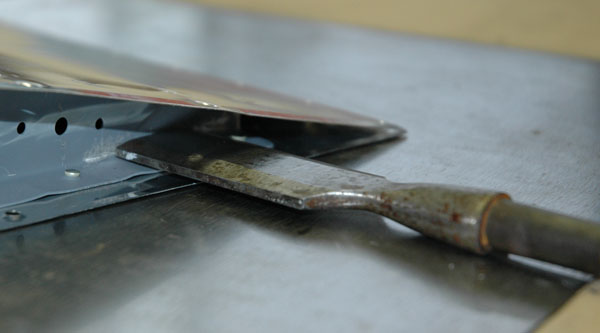
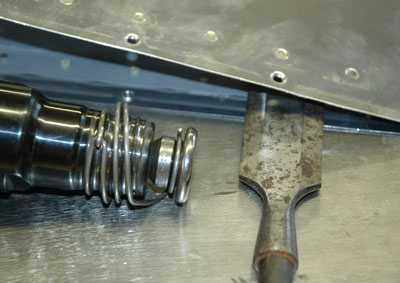
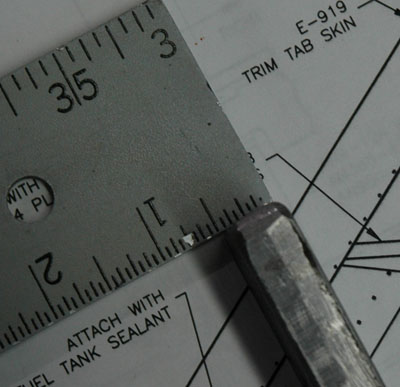
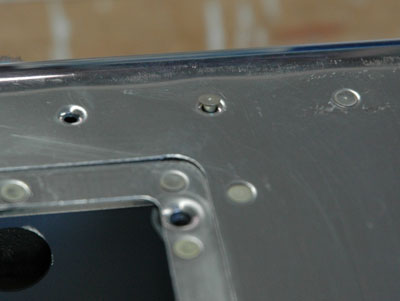
Now for my next trick I go to Ken Scott's article in Sport Aviation. He showed how to set the rivets at the end of the ribs of the tail surfaces. In this area you can't get much of anything in to do the riveting. I took an old chisel and ground the end flat, then polished it up a bit. You use it and a backrivet plate along with a flat set in the gun to rivet them in place. You simply rivet down on the top side of the chisel just outside of the parts, the force applied indirectly to the rivet. Thanks Ken for a great idea.